Prerequisites
- Apple Developer Program Connected to a0
- App Store Connect account with Bundle ID and App created
- Your app code ready for deployment
Accessing the Deployment Dashboard
1
Navigate to your project
- Log in to your a0 Dashboard
- Open a chat in your selected project
- click the Deployment button in the top right.
2
Push iOS deployment to App Store
-
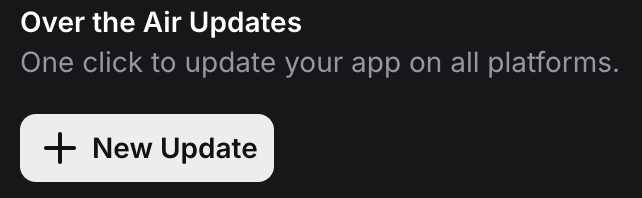
If you haven’t already, click the “New Update” button to ensure your deployed code is up to date
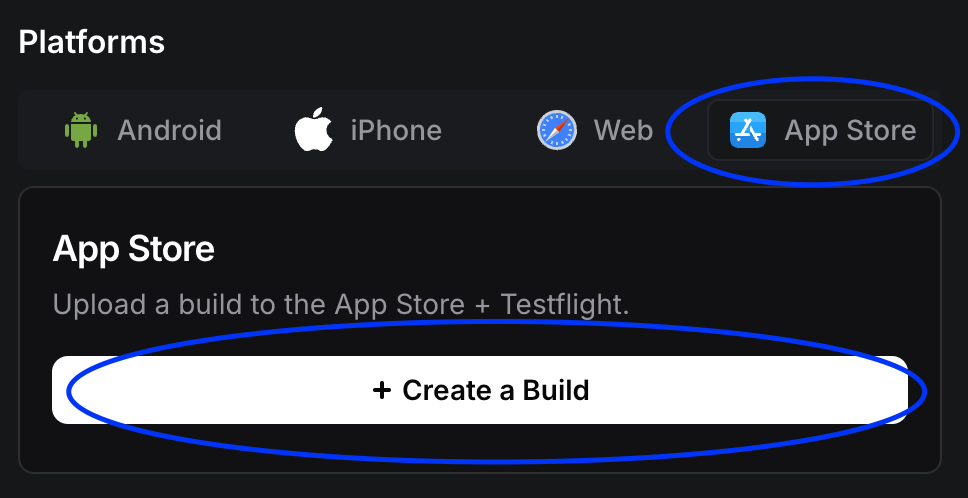
- Click on App Store icon in the modal then click on Create a Build
-
You’ll see the deployment configuration interface
The interface should show your project’s current deployment status.
Configuring Your iOS Build
1
Connect your App Store Connect account
If you haven’t already connected your account, follow the steps here
2
Fill in your app information
- Confirm your app version, name and icon look correct (this can be modified in settings)
- From the BundleID dropdown select the app you created in the previous step
- From the Team ID dropdown, select the Team ID which is associated with the selected Bundle ID
3
Generate & Submit
-
Click the Generate & Submit button at the bottom of the deployment modal

- Wait until the loading modal is complete and your app should appear within your app store connect account.
Post-Build Actions
After your build is generated and submitted, follow these verification steps:- Check that the build appears in App Store Connect
- Navigate to TestFlight to see your build
- Verify build number and version match
Testing Your Build
Before submitting to the App Store:- TestFlight Internal Testing
- TestFlight External Testing
- Add internal testers in App Store Connect
- Create a test group
- Distribute the build to testers
- Collect feedback and iterate
Next Steps
With your app successfully deployed:- Complete pre-submission checklist
- Submit for App Store review
- Monitor review status and respond to feedback
Get Help
Join our Discord for real-time support with deployment issues.